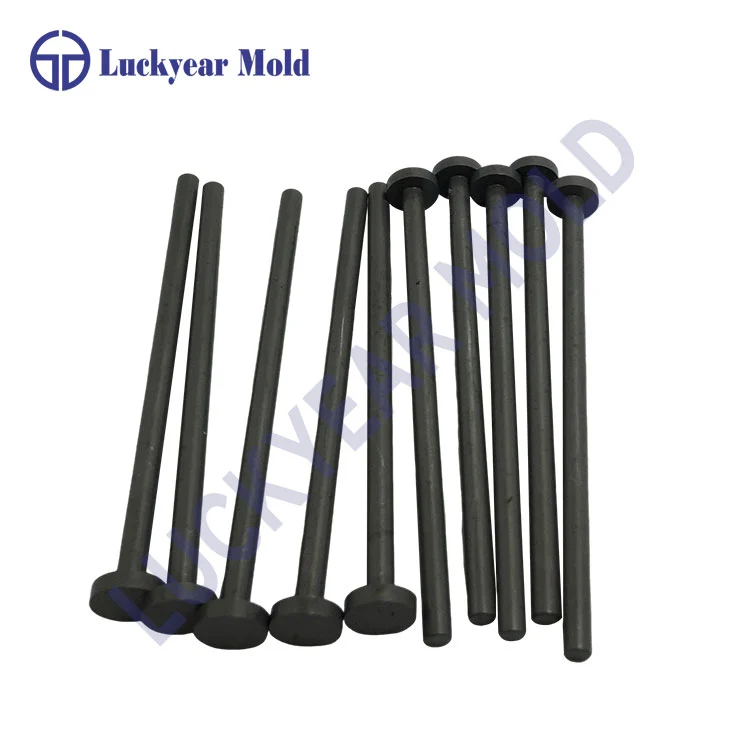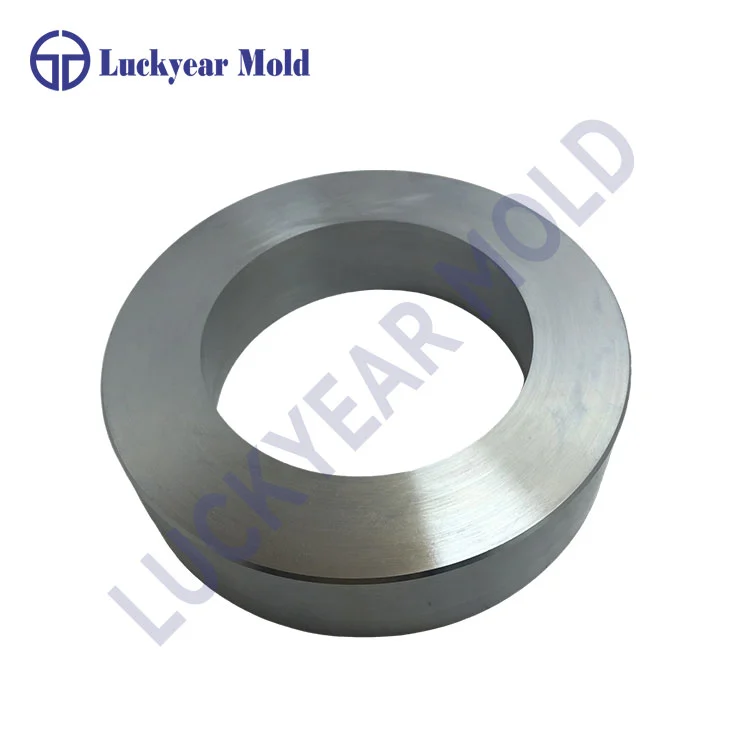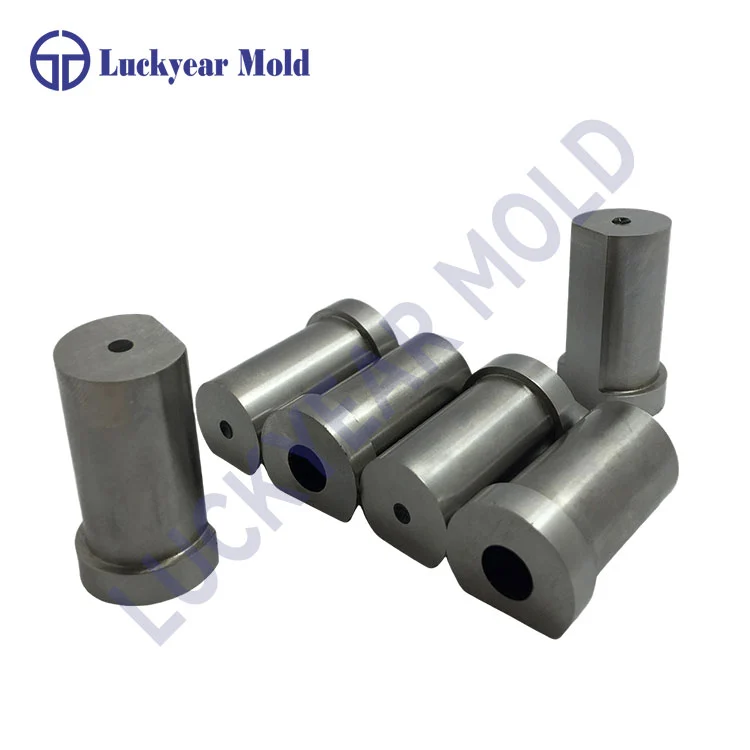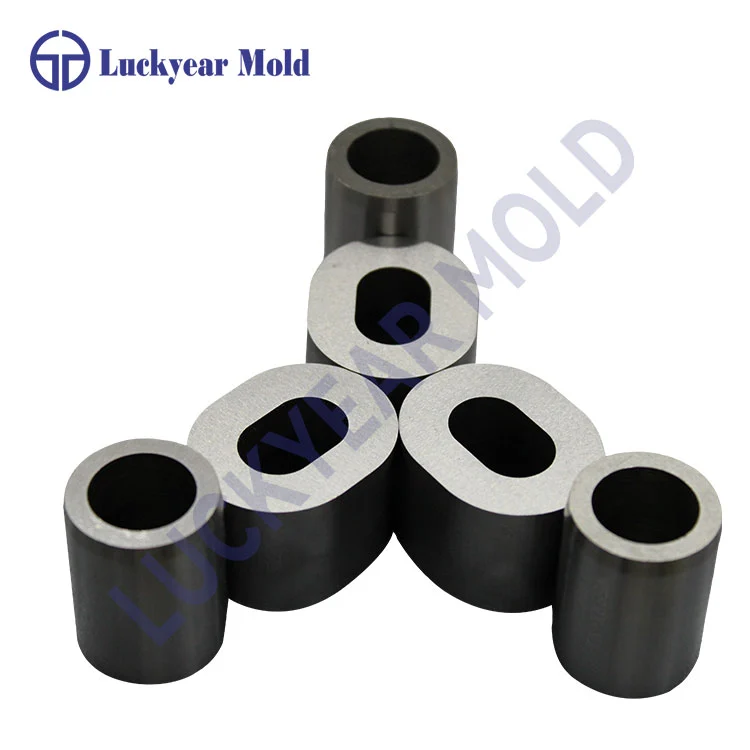

In the world of stamping and molding, the punch is one of the most critical yet frequently overlooked components. As the part that directly contacts the material to separate or plastically deform it, the standard mold punch's performance directly determines product quality, production efficiency, and tooling costs. Whether you are running a high-speed stamping line or a precision forming operation, understanding the practical aspects of standard punches—from material selection to maintenance discipline—is essential for optimizing your production process.
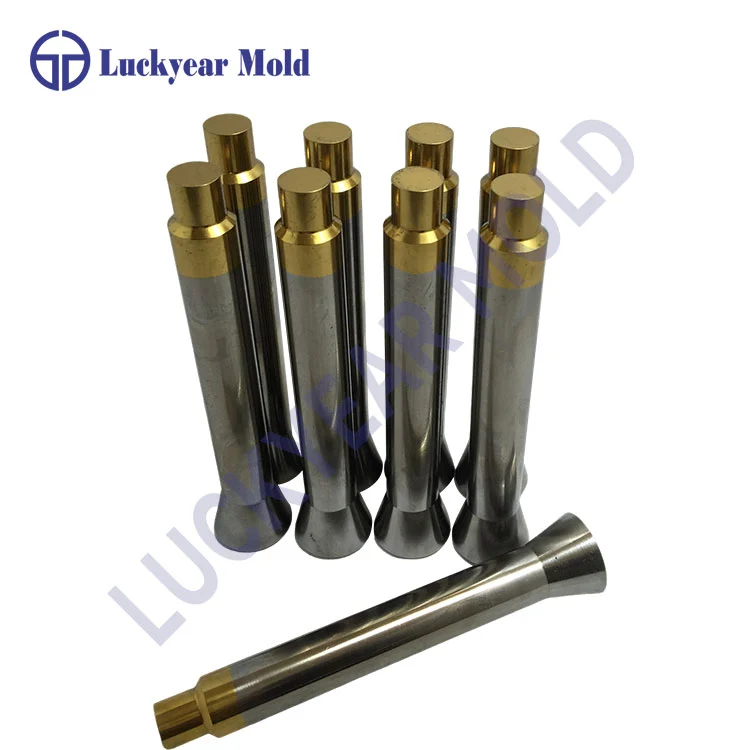
A standard mold punch, also known as a punch-pin, stamping punch, or simply a punch, is a metal component installed in a stamping die that performs continuous punching, blanking, or forming operations. It works in conjunction with a die to separate or shape the workpiece material into the desired product or semi-finished part.
Standard punches come in various configurations to suit different applications. Common types include T-type standard punches, B-type standard punches, guided punches, sub-die punches, and forming punches. What makes a punch "standard" is that its dimensions and specifications conform to established international standards such as ISO, DIN, JIS, HASCO, DME, or MISUMI, ensuring interchangeability and predictable performance.
The choice of punch material directly affects tool life, wear resistance, and cost. Here are the most widely used materials:
| Material | Key Properties | Typical Application |
|---|---|---|
| Alloy Tool Steel | Good wear resistance, cost-effective | General stamping, low to medium strength materials |
| High-Speed Steel | High hardness, heat resistance, ideal for high-speed stamping | High-speed production, thinner materials |
| Tungsten Carbide | Extremely high hardness, excellent wear resistance | High-volume production, abrasive materials, heavy impact loads |
| Powder Metallurgy Steels | Uniform structure, superior toughness and wear resistance | Demanding applications, long-run production |
To extend punch life, surface treatments are often applied:
TiN – Gold-colored, provides excellent wear resistanceStandard punches are manufactured to tight tolerances. A quality standard punch typically achieves:
Diameter tolerance: ±0.001mm to ±0.002mm
Concentricity: Within 0.002mm
Roundness: Within 0.003mm
Surface roughness: Ra 0.04 to Ra 0.4
Selection should be based on the specific requirements of your application. Consider these factors:
The punch material must match the workpiece material. For soft materials like aluminum or mild steel, alloy tool steel may suffice. For stainless steel or high-strength alloys, high-speed steel or carbide is recommended.
Standard punches should conform to recognized standards for interchangeability:
ISO 8020 – International standard for punchesPay attention to the working section diameter, installation section dimensions, and overall length. These must match your die set's specifications.
The fit between the punch and the die is a decisive factor in stamping quality. Proper clearance ensures clean shearing, minimizes burr formation, and extends tool life.
| Clearance | Effect |
|---|---|
| Too large | Heavy burrs, rough sheared edges, material distortion |
| Too small | Excessive tool wear, increased tonnage, risk of punch breakage |
| Optimal | Clean shearing, minimal burrs, balanced tool life |
In general, the punch diameter should be slightly smaller than the die opening to allow proper clearance. Achieving and maintaining this fit requires precision manufacturing and regular monitoring.
Proper installation ensures the punch operates as designed:
Verify alignment: Ensure the punch and die are concentric to avoid side loading.
Check retention: Use the correct retainer and ensure the punch is securely fastened.
Confirm clearance: Verify that the punch-to-die clearance is within the specified range.
Check lubrication: Apply appropriate lubricant to reduce friction and heat buildup.
Punches primarily fail through two mechanisms: wear and fracture.
| Failure Mode | Signs | Prevention |
|---|---|---|
| Wear / edge rounding | Increased burrs, reduced sheared surface, rising tonnage | Regular inspection, timely re-sharpening |
| Fracture / breakage | Sudden failure, visible cracks | Avoid overloading, maintain proper clearance, use correct material |
| Deformation / bending | Permanent distortion | Reduce tonnage; ensure proper material hardness |
One of the most common mistakes in punch maintenance is waiting until parts show visible burrs before taking action. By the time burrs are visible, the punch edge has already developed a significant radius and the damage has been accumulating for hours.
Consider this real-world scenario: If you remove a punch for re-sharpening at minimal wear, the removal is small. But if you wait until burrs force you to act, wear may have become much more significant. Cleaning that edge consumes far more tool life in a single reactive cycle than would have been lost through proactive maintenance.
| Frequency | Task |
|---|---|
| After each run | Clean the punch surface; remove debris and lubricant residue |
| Daily | Inspect for visible wear, edge rounding, or cracking |
| By cycle count | Re-sharpen based on stroke count |
| As needed | Deburr; apply lubricant; verify dimensions |
Small punches should be inspected more frequently due to higher surface pressure and faster heat accumulation. Larger punches may extend to longer intervals under controlled conditions.
Visible edge rounding
Increase in required tonnage from baseline
Reduced sheared surface percentage on stamped parts
Parts showing inconsistent quality or dimensional drift
Standard mold punches are used across virtually all manufacturing sectors:
| Industry | Application |
|---|---|
| Automotive | Stamping body panels, chassis components, trim parts |
| Electronics | Punching connector terminals, lead frames, shielding cans |
| Medical | Forming surgical instruments, device housings |
| Aerospace | Precision stamping of structural components |
| Consumer goods | Appliance panels, packaging components, hardware |
| Mold manufacturing | Plastic injection mold components, die casting parts |
The practical value of a standard mold punch goes beyond its purchase price. Consider these cost factors:
Initial cost: Higher-grade materials have higher upfront cost but longer life.The economic sweet spot is not necessarily the cheapest punch, nor the most expensive—it is the one that delivers the lowest total cost per stamped part over its full life cycle.
The standard mold punch may be a small component in the stamping process, but its impact on productivity, quality, and cost is immense. Practical success begins with selecting the right material and configuration for your application, continues through proper installation and clearance management, and culminates in disciplined maintenance—not waiting for visible failure, but acting based on measured wear and cycle counts. When you approach your punches with the mindset of a process engineer, focusing on geometry, material science, and wear physics, you transform a consumable part into a reliable production asset.